Configuring Site Payment Rules and Tracking Payments Based on Data Entry
Configuring Payments
Prerequisite: User has access to Payment Configuration
|
Web Browser |
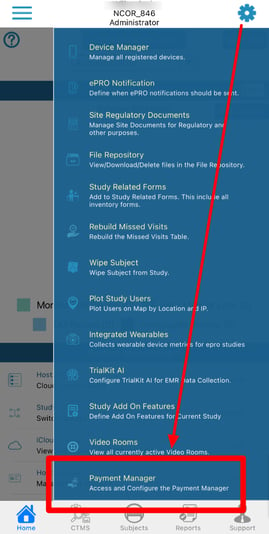
Mobile App |
 |
 |
Please take a look at the image and steps below for steps to set up the payment system.
The visits will be listed in the order as defined by the sequence set in the study schedule setup.
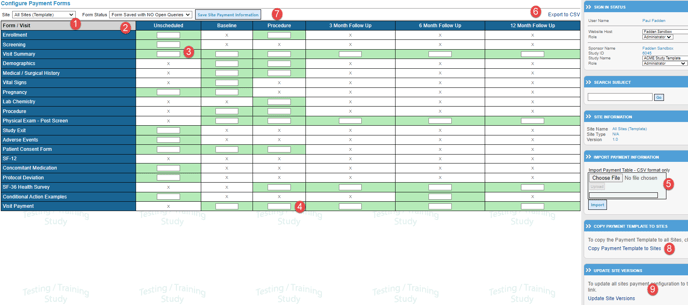
- With a site selected or all sites using a single template (#1)
- Set the status that each form/visit must obtain before being available for payment (#2)
- Enter the amounts of each form (#3)
- And/or enter the amount for each visit (#4)
- Save the template (#7)
- (Optional) Copy the template to all site(s) (#8)
- (Optional) Update Site Versions (#9) - Updates the current version with the amounts set in the previous version
Please don't hit this link when the template is blank; it will overwrite your site templates if they are configured.
Importing Status and Form/Visit Information
The Configure Payments table can also be imported using the instructions below.
6. Export the system table to Excel (#6)
7. Complete the table as needed
8. Import the table back into the system (#5)
9. (Optional) Copy the template to all site(s) (#8)
Please be careful not to hit this link when the template is blank it will overwrite your site templates if they are configured.
Making Updates
If a version update is made to a study where a form was removed or added to the payment schedule, use the Update Site Versions link at the bottom of the right column. (#9)
NOTE: The table is automatically updated when a new study version includes an existing study site.
Important:
Only Subject forms are included in the payment manager.
If the initial subject registration form does not appear in the unscheduled column, it must be marked as a log form in the form builder.
If opening the Payment Manager page results in an error, it's because there is no site template saved in the payment configuration or no subject records in the study.
As records are entered in the study at the applicable sites, forms and visits will be tracked within the system and ready for payment based on the status defined in the configuration.
Managing Payments
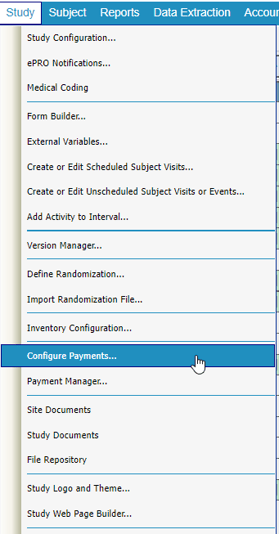
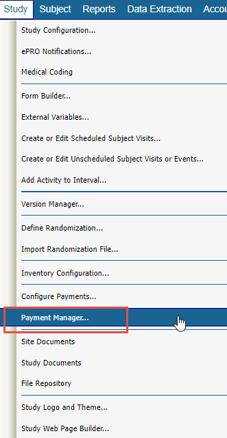
The Payment Manager is found under the Study menu, as shown below.
To view the list of records ready to be paid, follow the numbered steps in the image below.

-
You can select a status only to show items due. These items have met the payment criteria set in the configuration but have not yet been paid. (#1)
-
Filter by the site (#2)
-
Select which items to pay (#3), or
-
Use the "Select All" link at the top of the table (#4)
-
Pay all records listed without using the checkboxes, or pay the items selected. Total amounts will be displayed here as well.
To view a history of items paid, follow the numbered steps in the image below.
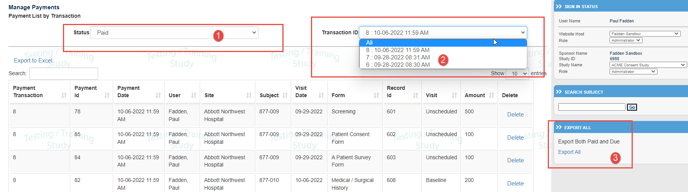
- Select the filter for those sites that have been Paid. (#1)
- Select the "Paid status and transaction ID" from the dropdown lists at the top. (#2)
- The list selected can also be exported to Excel. This is useful to send to sites needing a record of everything paid at a certain time. (#3)
To also see the visit windows corresponding to each record, use the toggle at the top of the table:

The Visit Date indicated is the visit date field from each form. For visit payments (where the form is N/A), the visit date is the date of the most recent record entered into the corresponding visit.